Update Email
This flow will initiate the process of updating the user's email.
Here are the steps for executing Update Email
1 Go to Dashboard > Authentication > Actions, and click on the flow created for Update Email.
To know how to create an authentication flow step-by-step, see here.
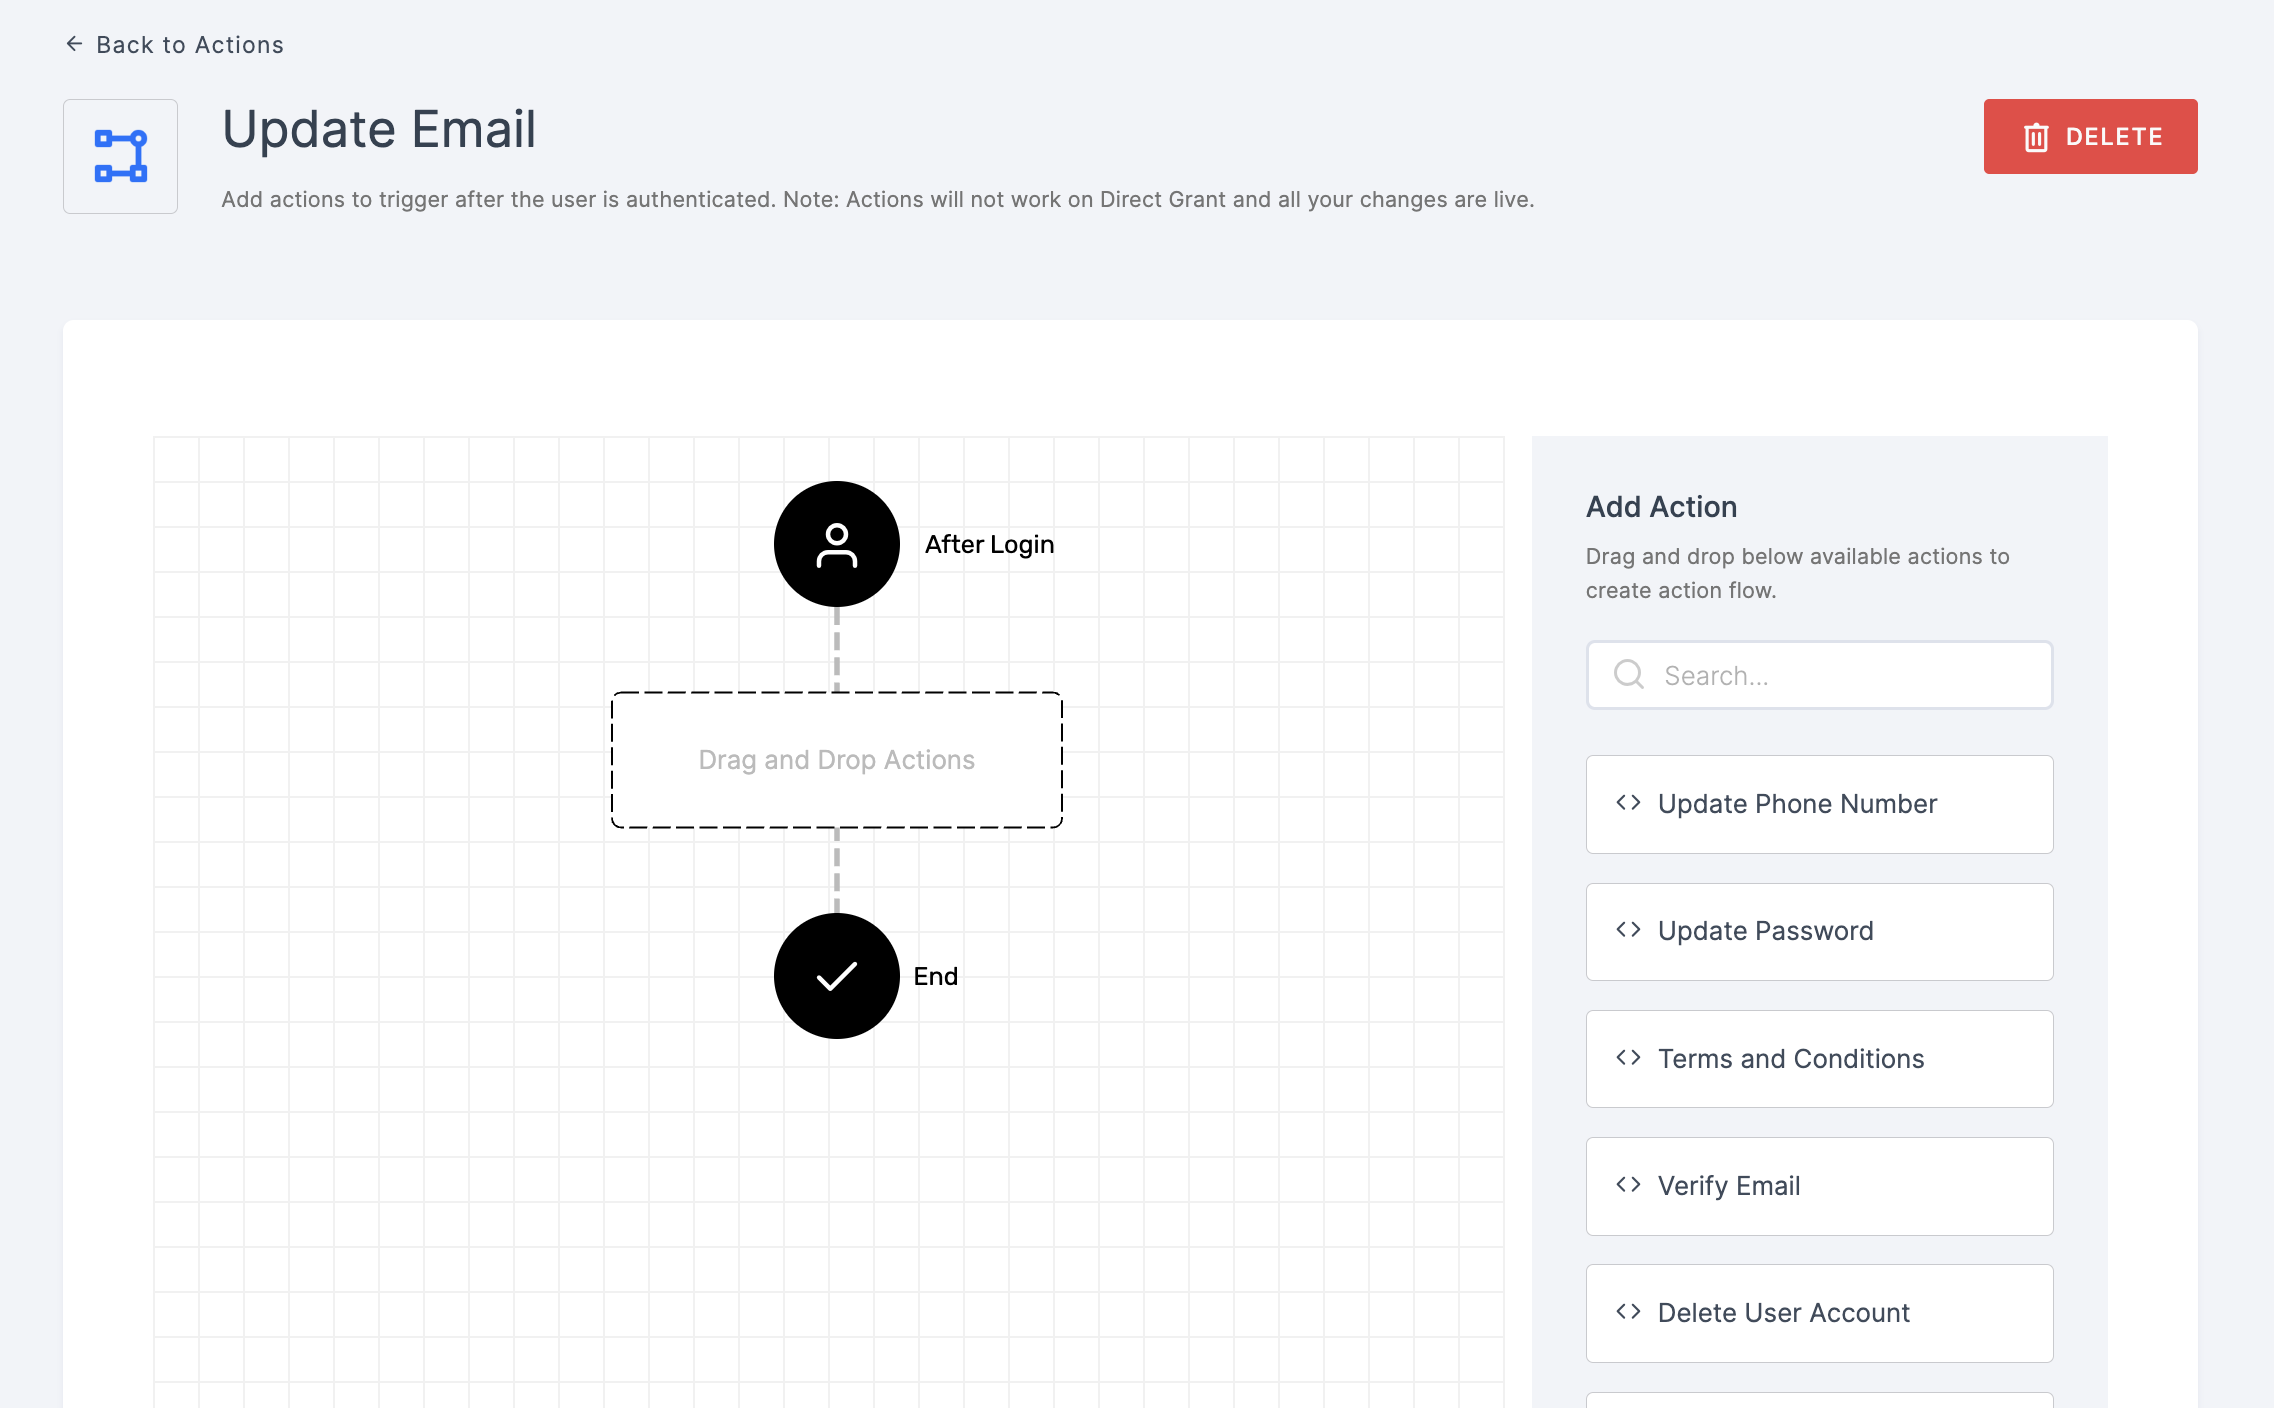
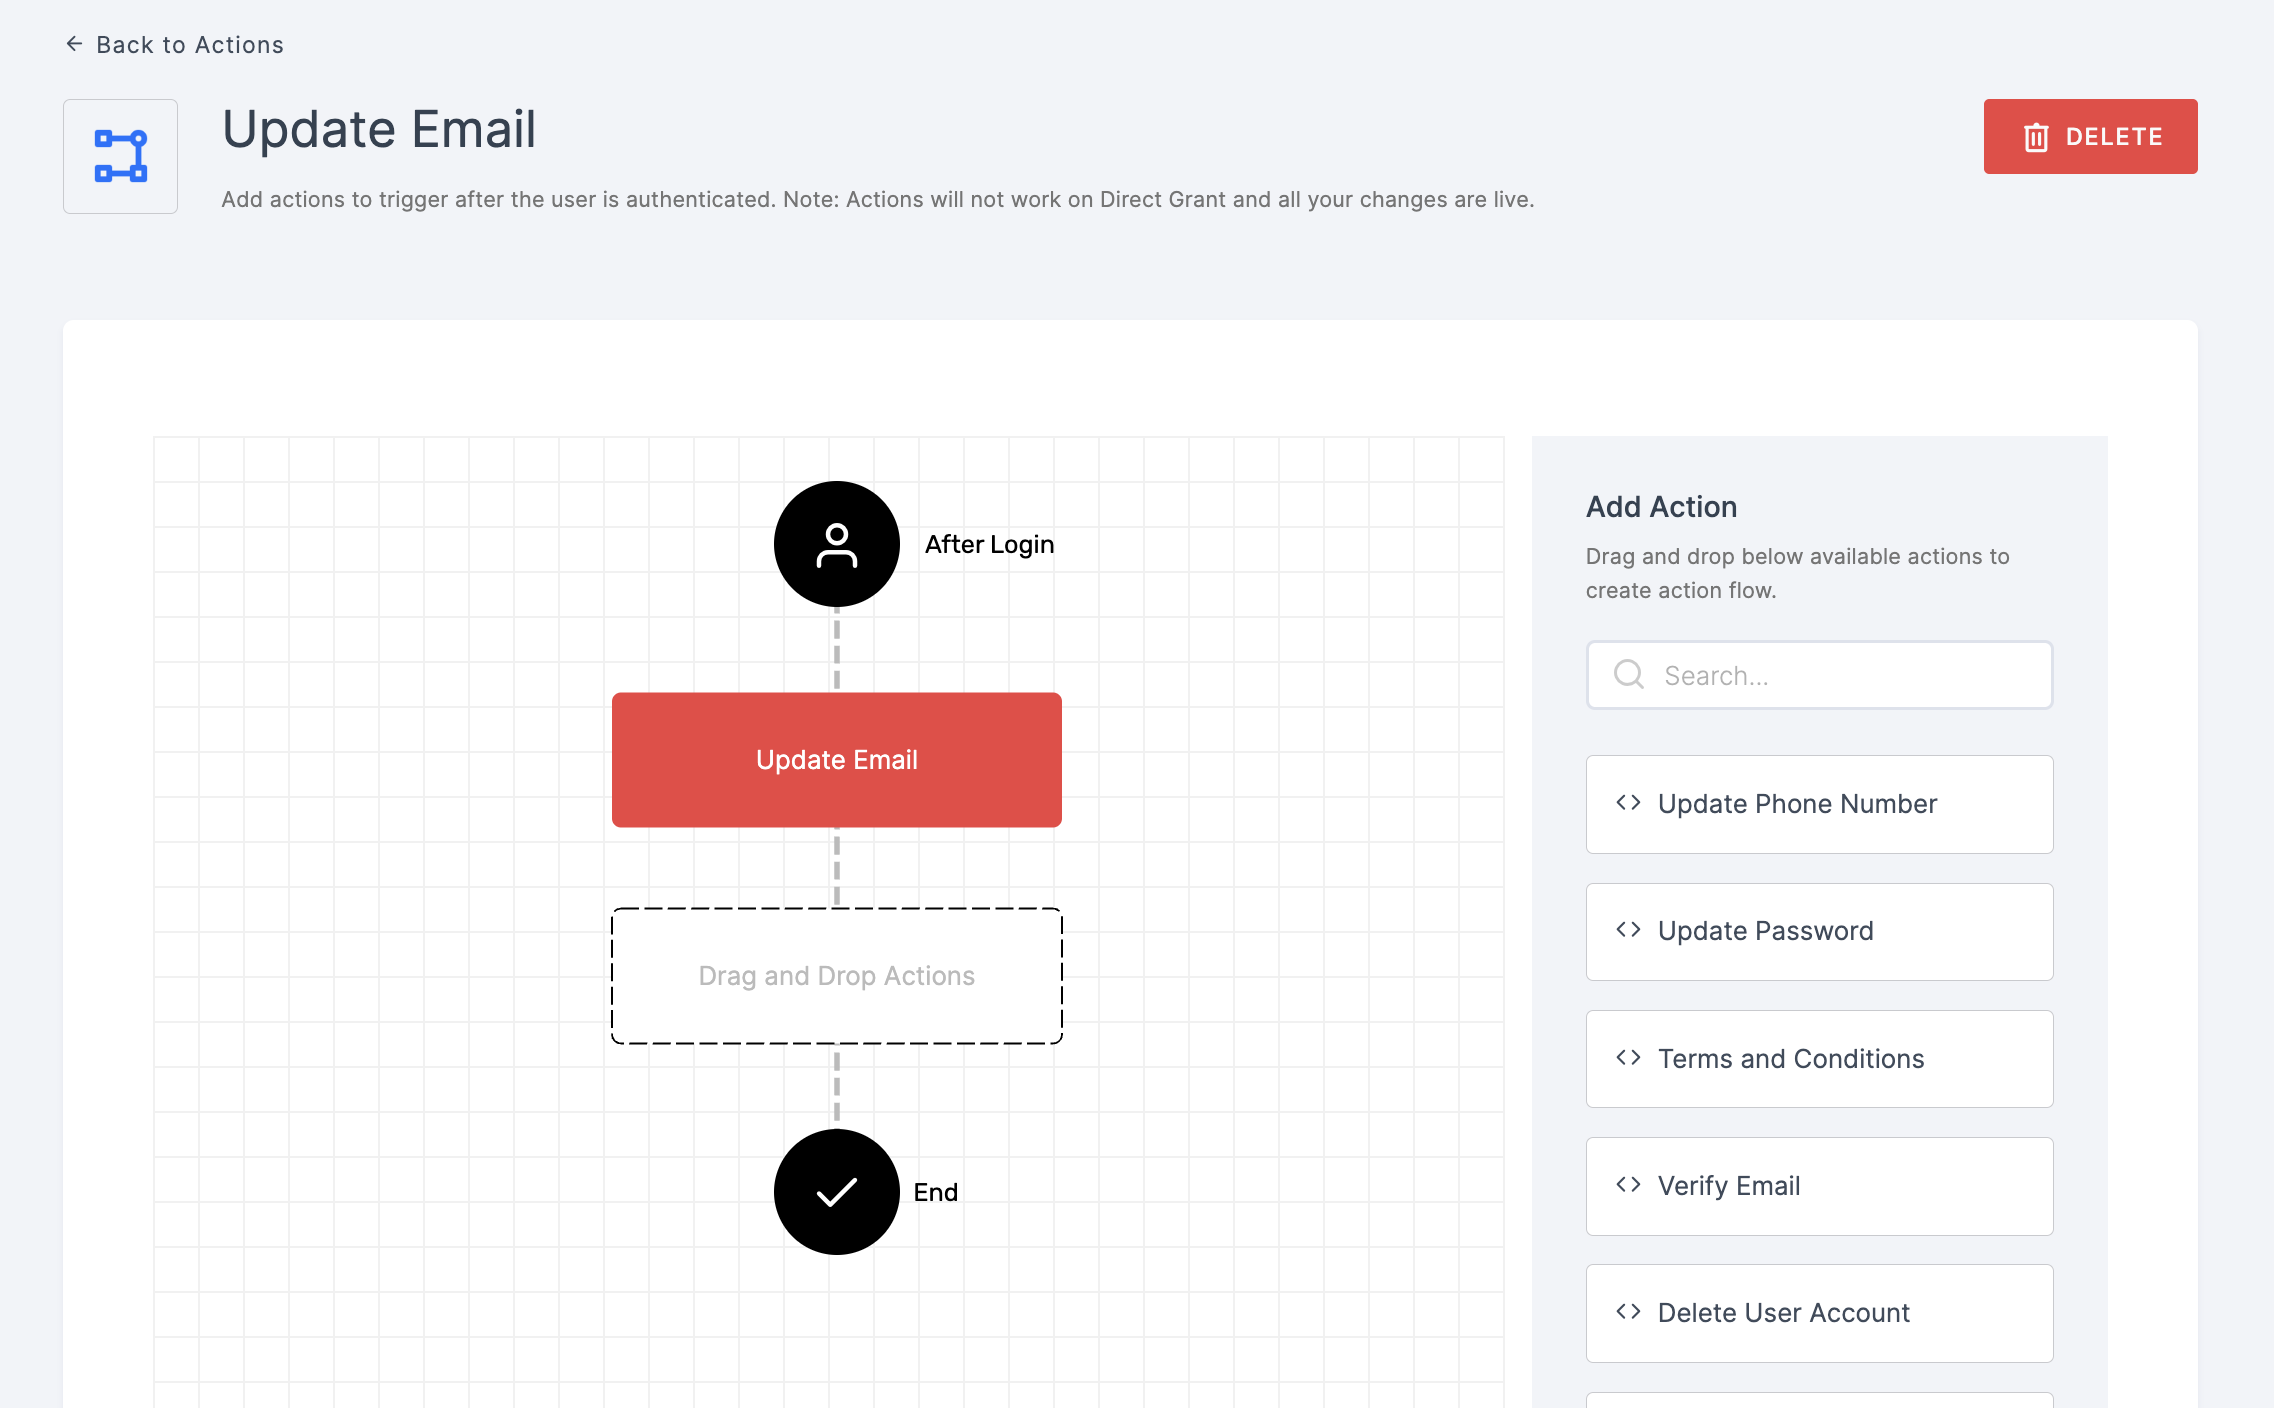
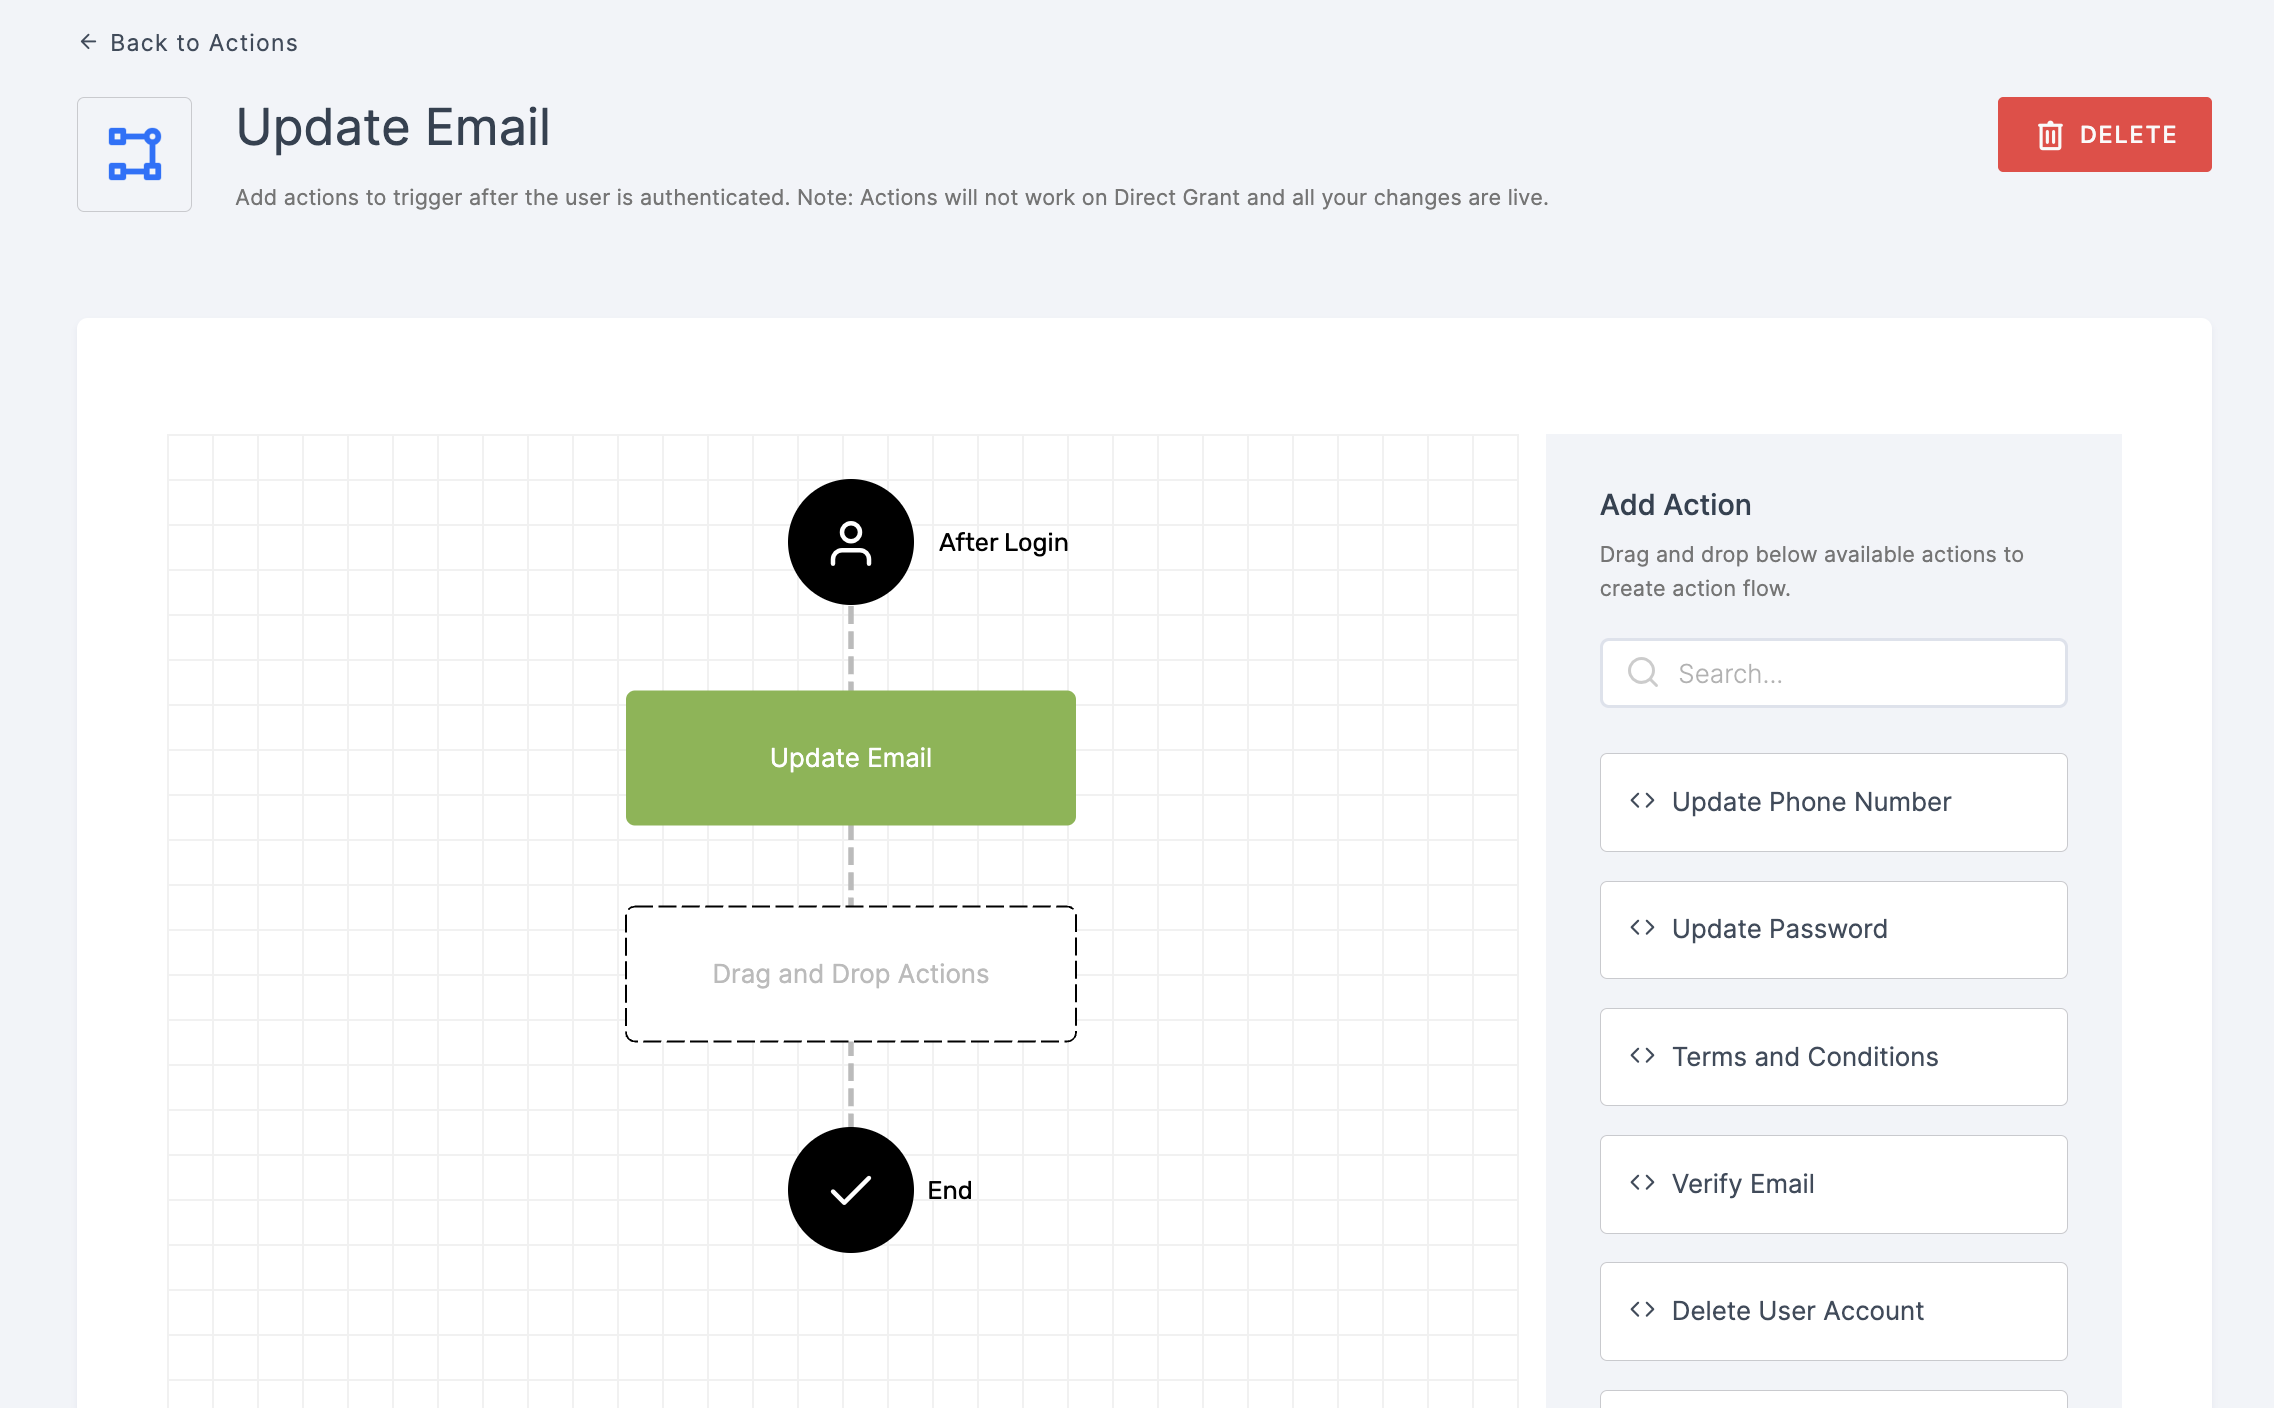
2 Drag and drop the Update Email authenticator.
3 Give a click to the newly added authenticator in order to set up your preferences. The authenticator's General will be displayed.
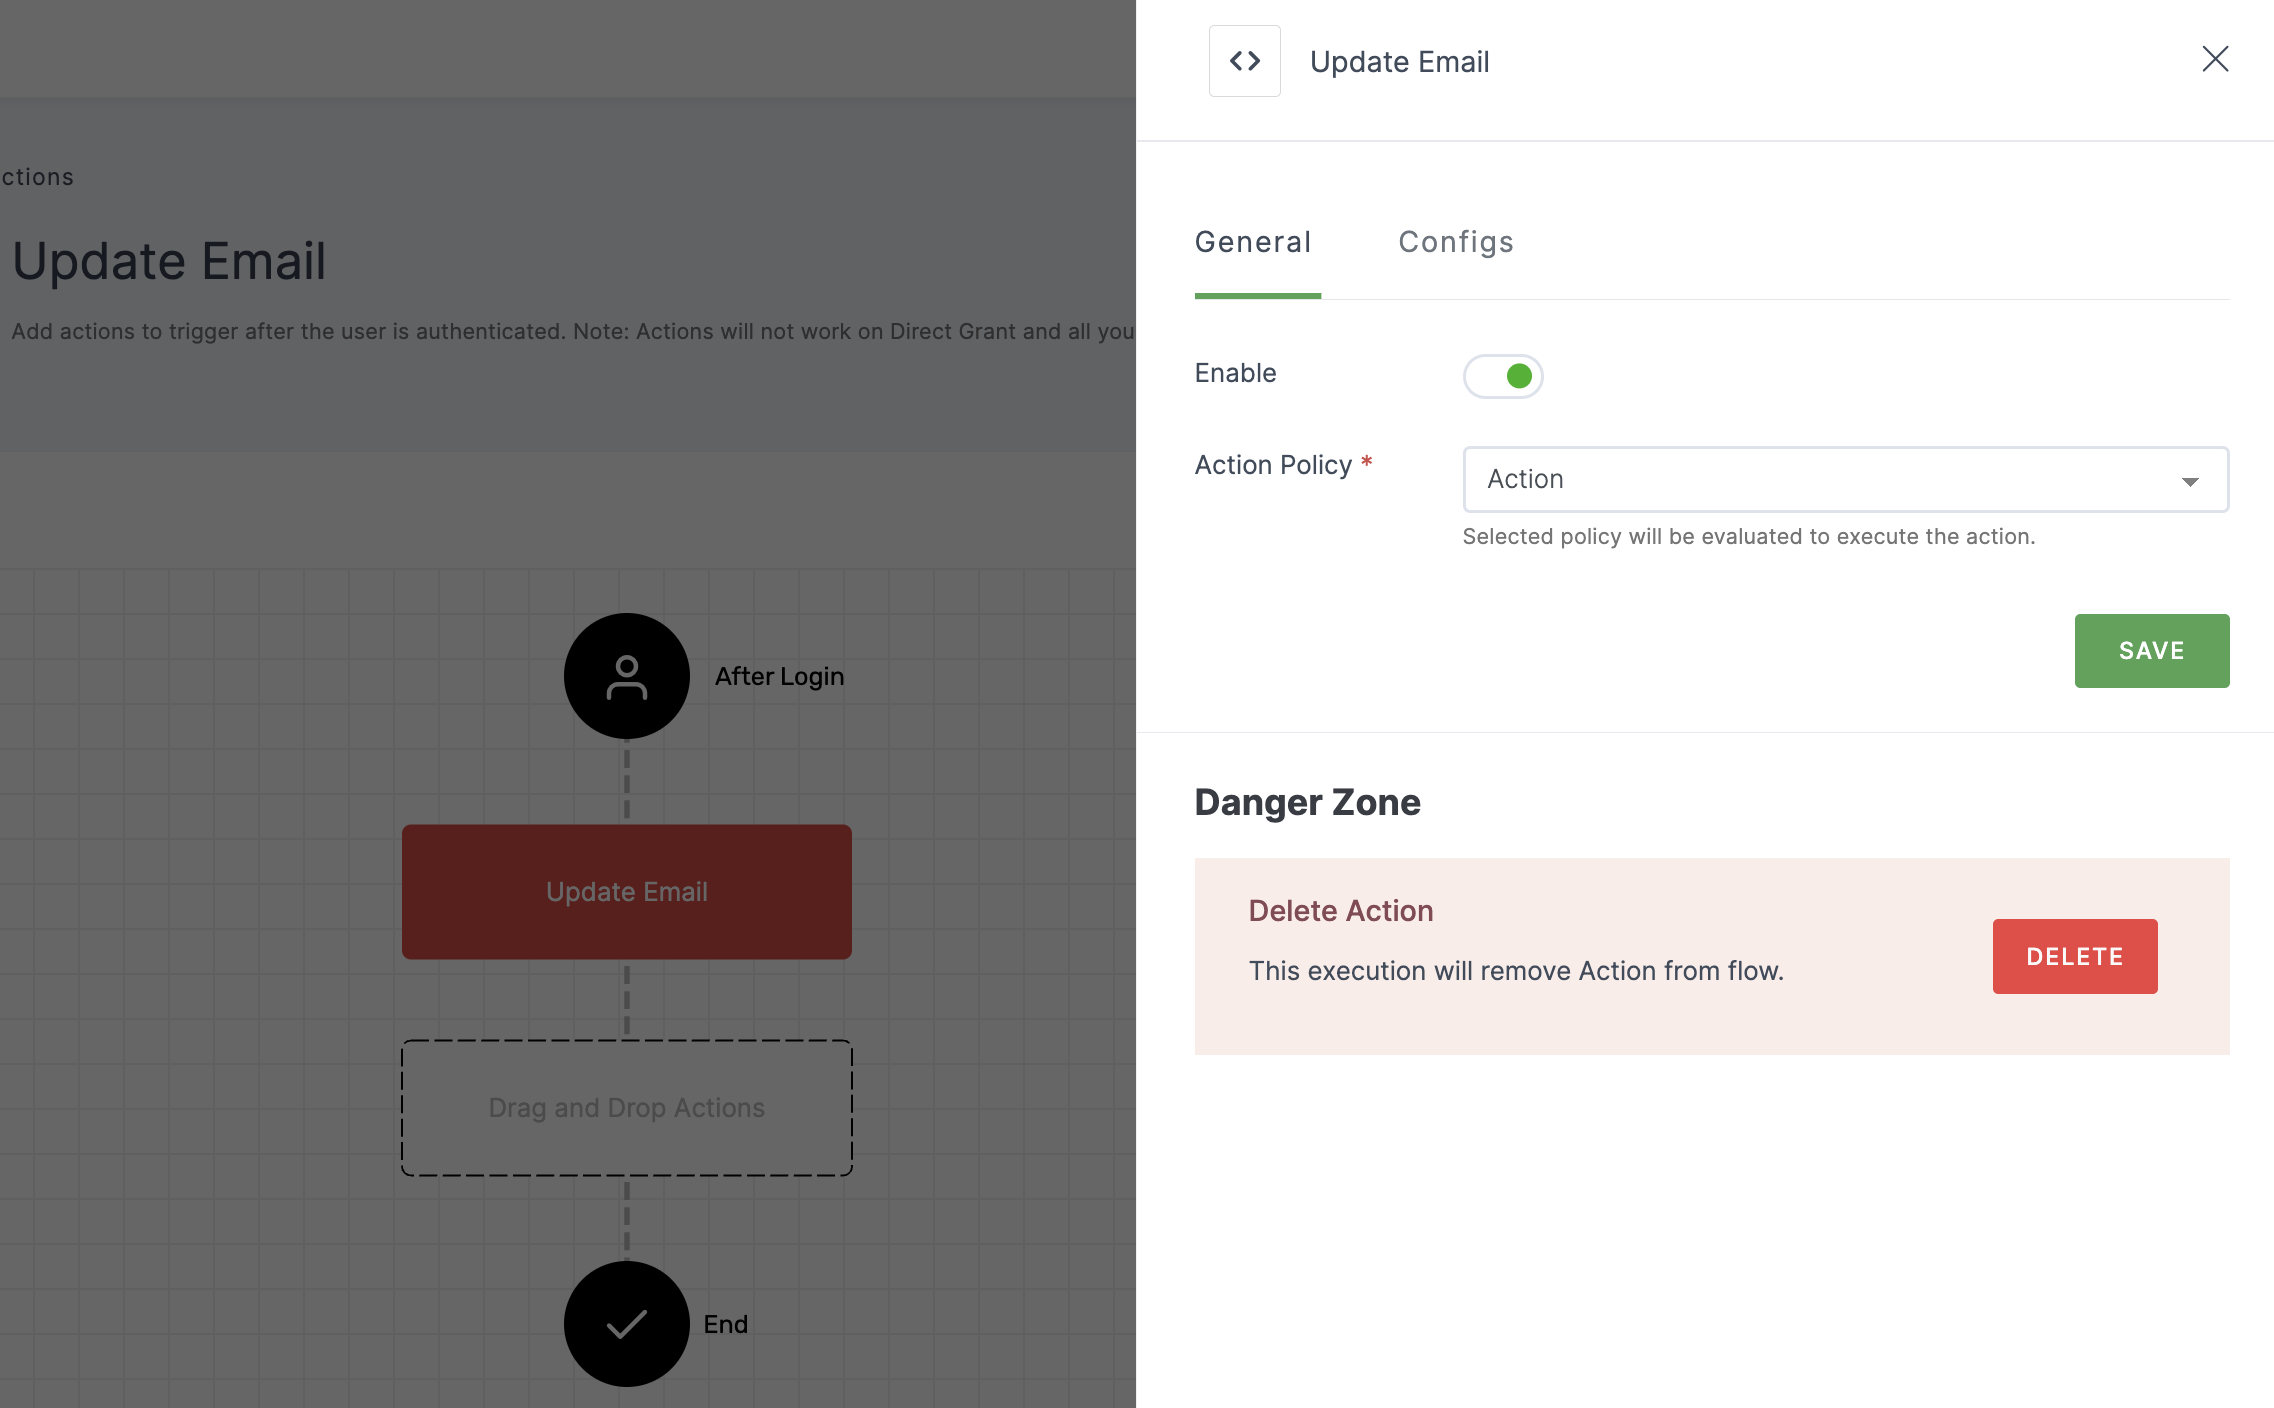
Configuration for General
(*) Indicates that the action is mandatory.
| Attribute | Description |
|---|---|
| Enable | This toggle will be enabled by default. |
| *Action Policy | Choose the action policy from the drop-down. To know how to create an Action Policy, see here. |
4 After configuring the required inputs, click on the Configs tab.
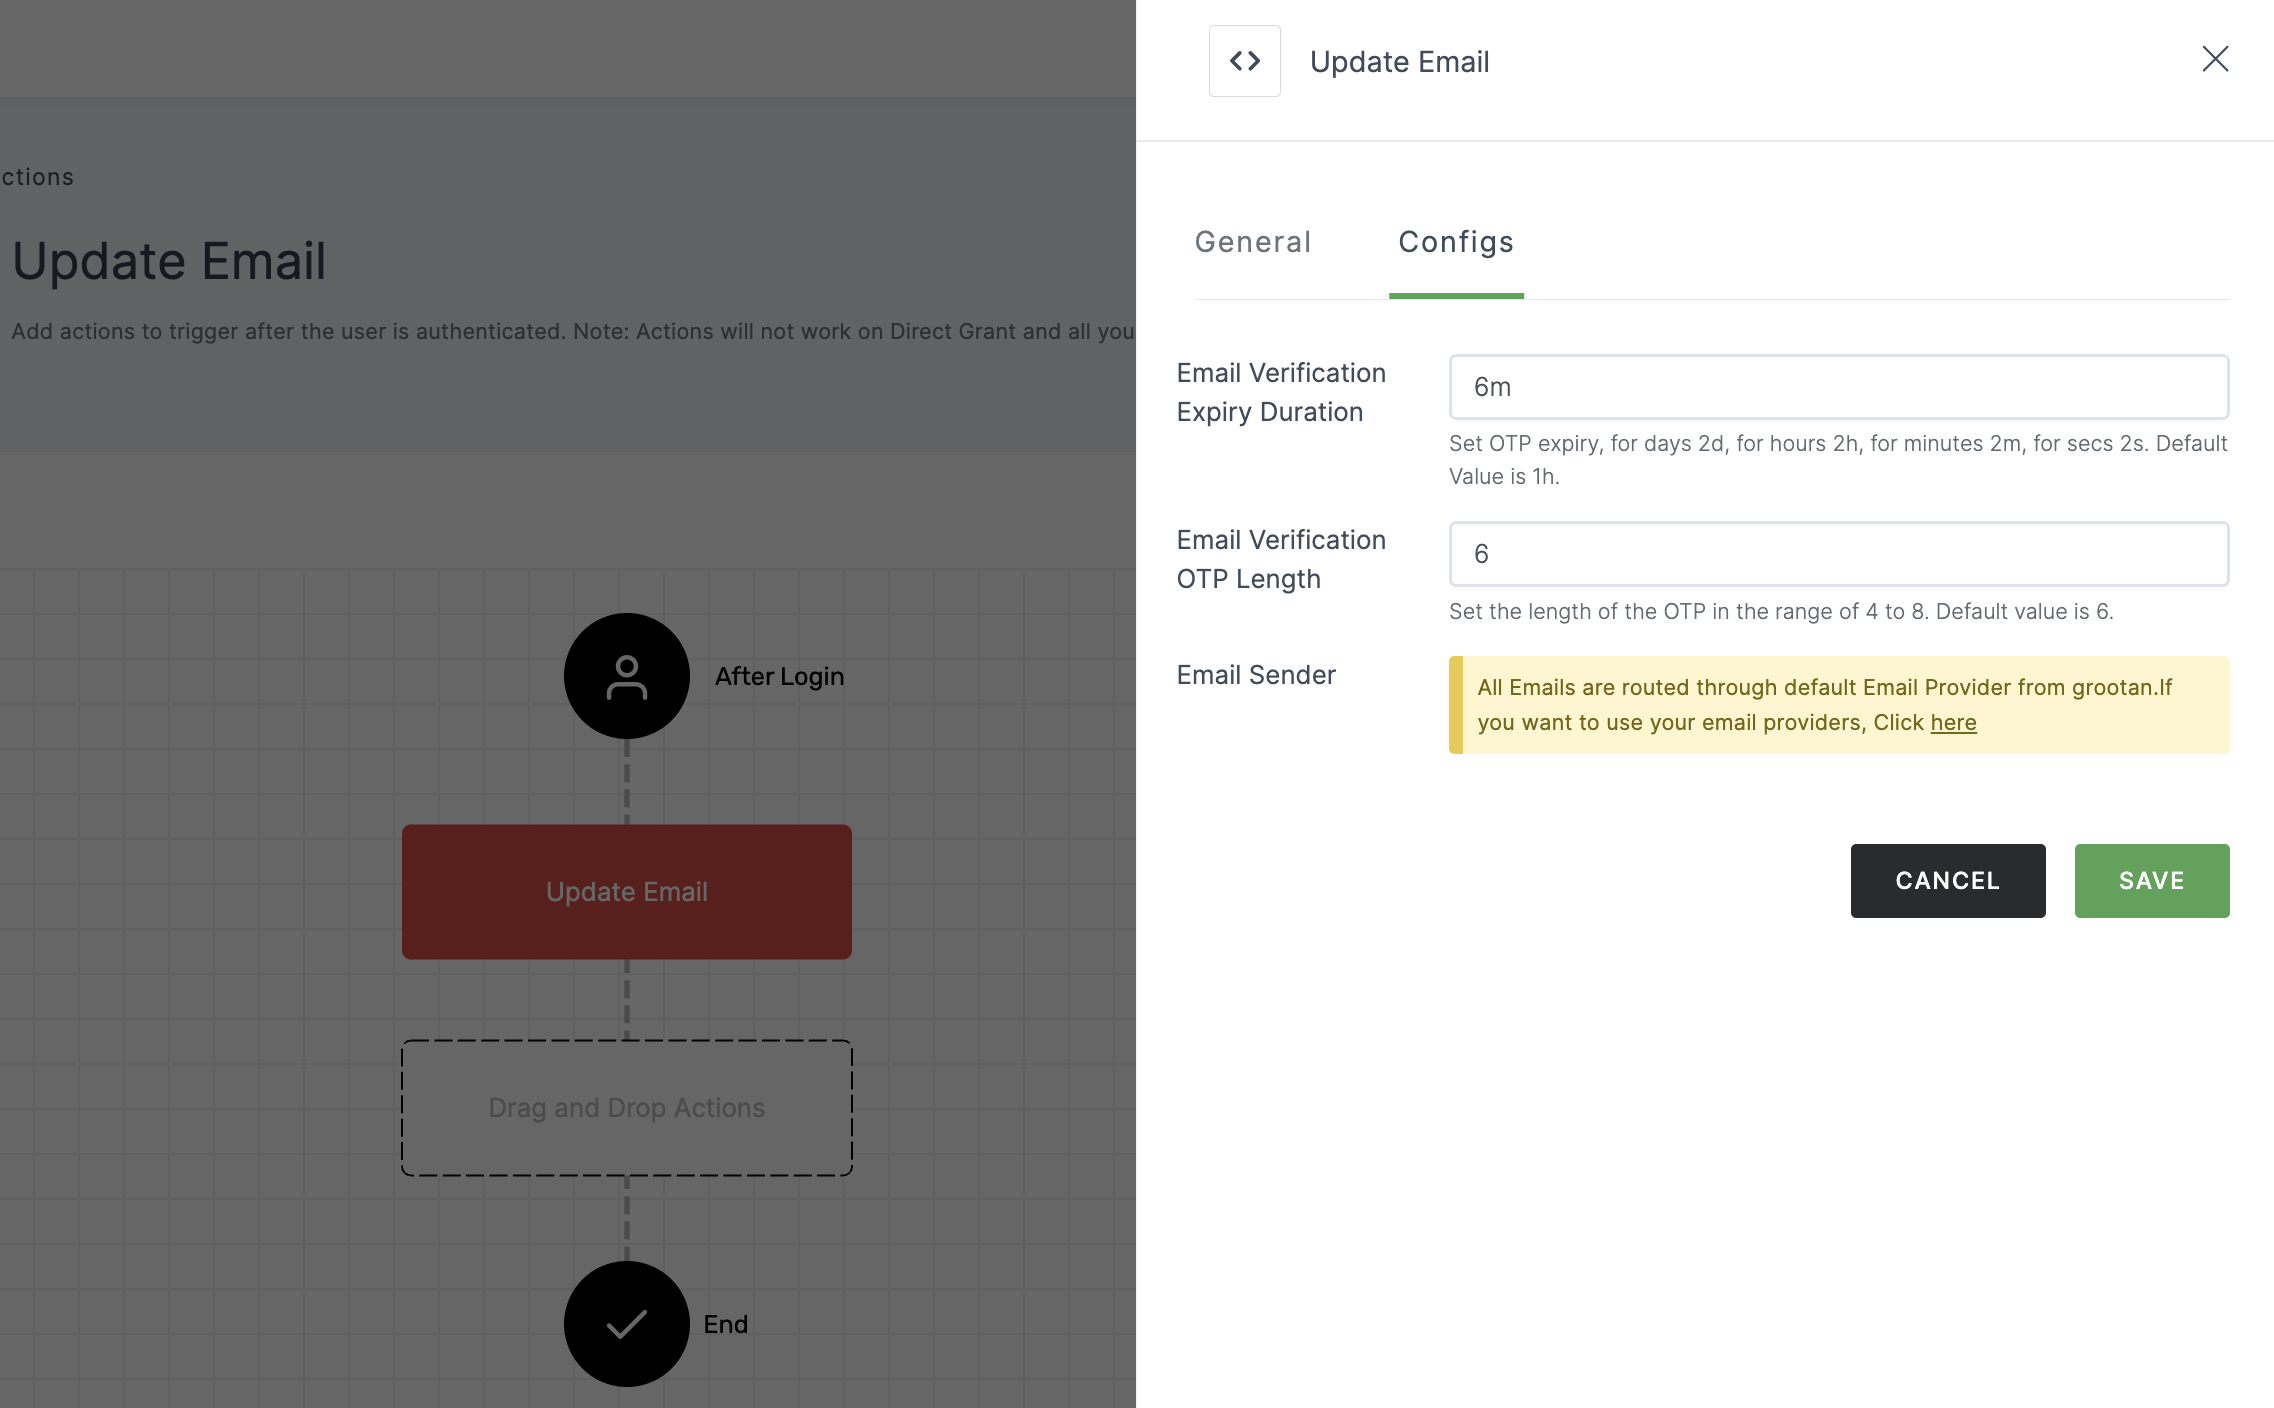
Configuration for Configs
(*) Indicates that the action is mandatory.
| Attribute | Description |
|---|---|
| Email Verification Expiry Duration | Configure the expiration time for OTP verification, with options for days (2d), hours (2h), minutes (2m), or seconds (2s). |
| Email Verification OTP Length | Set the length of the OTP, ranging from 4 to 8 characters. The default value is 6. |
| Email Sender | The default email provider will be pre-configured. If you wish to use a custom provider, please refer here. |
5 Provide the necessary configurations and click on SAVE.
6 Moving forward, the subsequent step involves associating the update email flow with the application for execution. If you're looking to understand how to attach an authenticator to an application, see here.
7 To know how to execute an authentication flow, see here.